Hello, my Crafty and Creative Friends!
I'm super excited about the cards that I'll be sharing in the coming weeks...created with Blue Knight Rubber Stamps September New Release stamps.
BK's September new release is a collection of 14 amazing stamps...some are lined images (great for those who love to color!)...and some are silhouette images (great for beautiful card making for those who shy away from coloring. Within the group of New release stamps...there are possibilities for mixing and matching and pairing multiple sets and images , to create beautiful scenes (for me, a favorite thing to do with my Blue Knight Stamps!

This week, for my BKRS Design Team Weekly Inspiration projects, I'll be sharing a few cards created with the new GIRLS with PETS stamp set.
Thi set has both cat and dog images...in larger and small sizes.
For my first card, I chose the large image of the girl and dog.
I stamped the image, using a stamp positioning tool on heavyweight white card stock.
I re-inked the stamp multiple times to get a nice solid black image.
I left the stamp, in position, in the tool...because I would be coming back to re-stamp the image again.
Next...using a Ken Oliver Stencil Brush, I inked the background with a few Distress Ink colors.
When the colors were as I wanted them, I covered the silhouette image with an impromptu mask.....my
fingers!...while lightly spritzing the card stock with water. (Emphasis on LIGHTLY)...
(*Note: ordinarily, when spritzing a card, I'd have chosen watercolor card stock...however, I knew that I'd be misting the piece VERY lightly, so I knew that heavyweight card stock would work fine...which it did!
I blotted any excess water with a paper towel (there really wants much being that I gave extra attention to go very light with the misting)
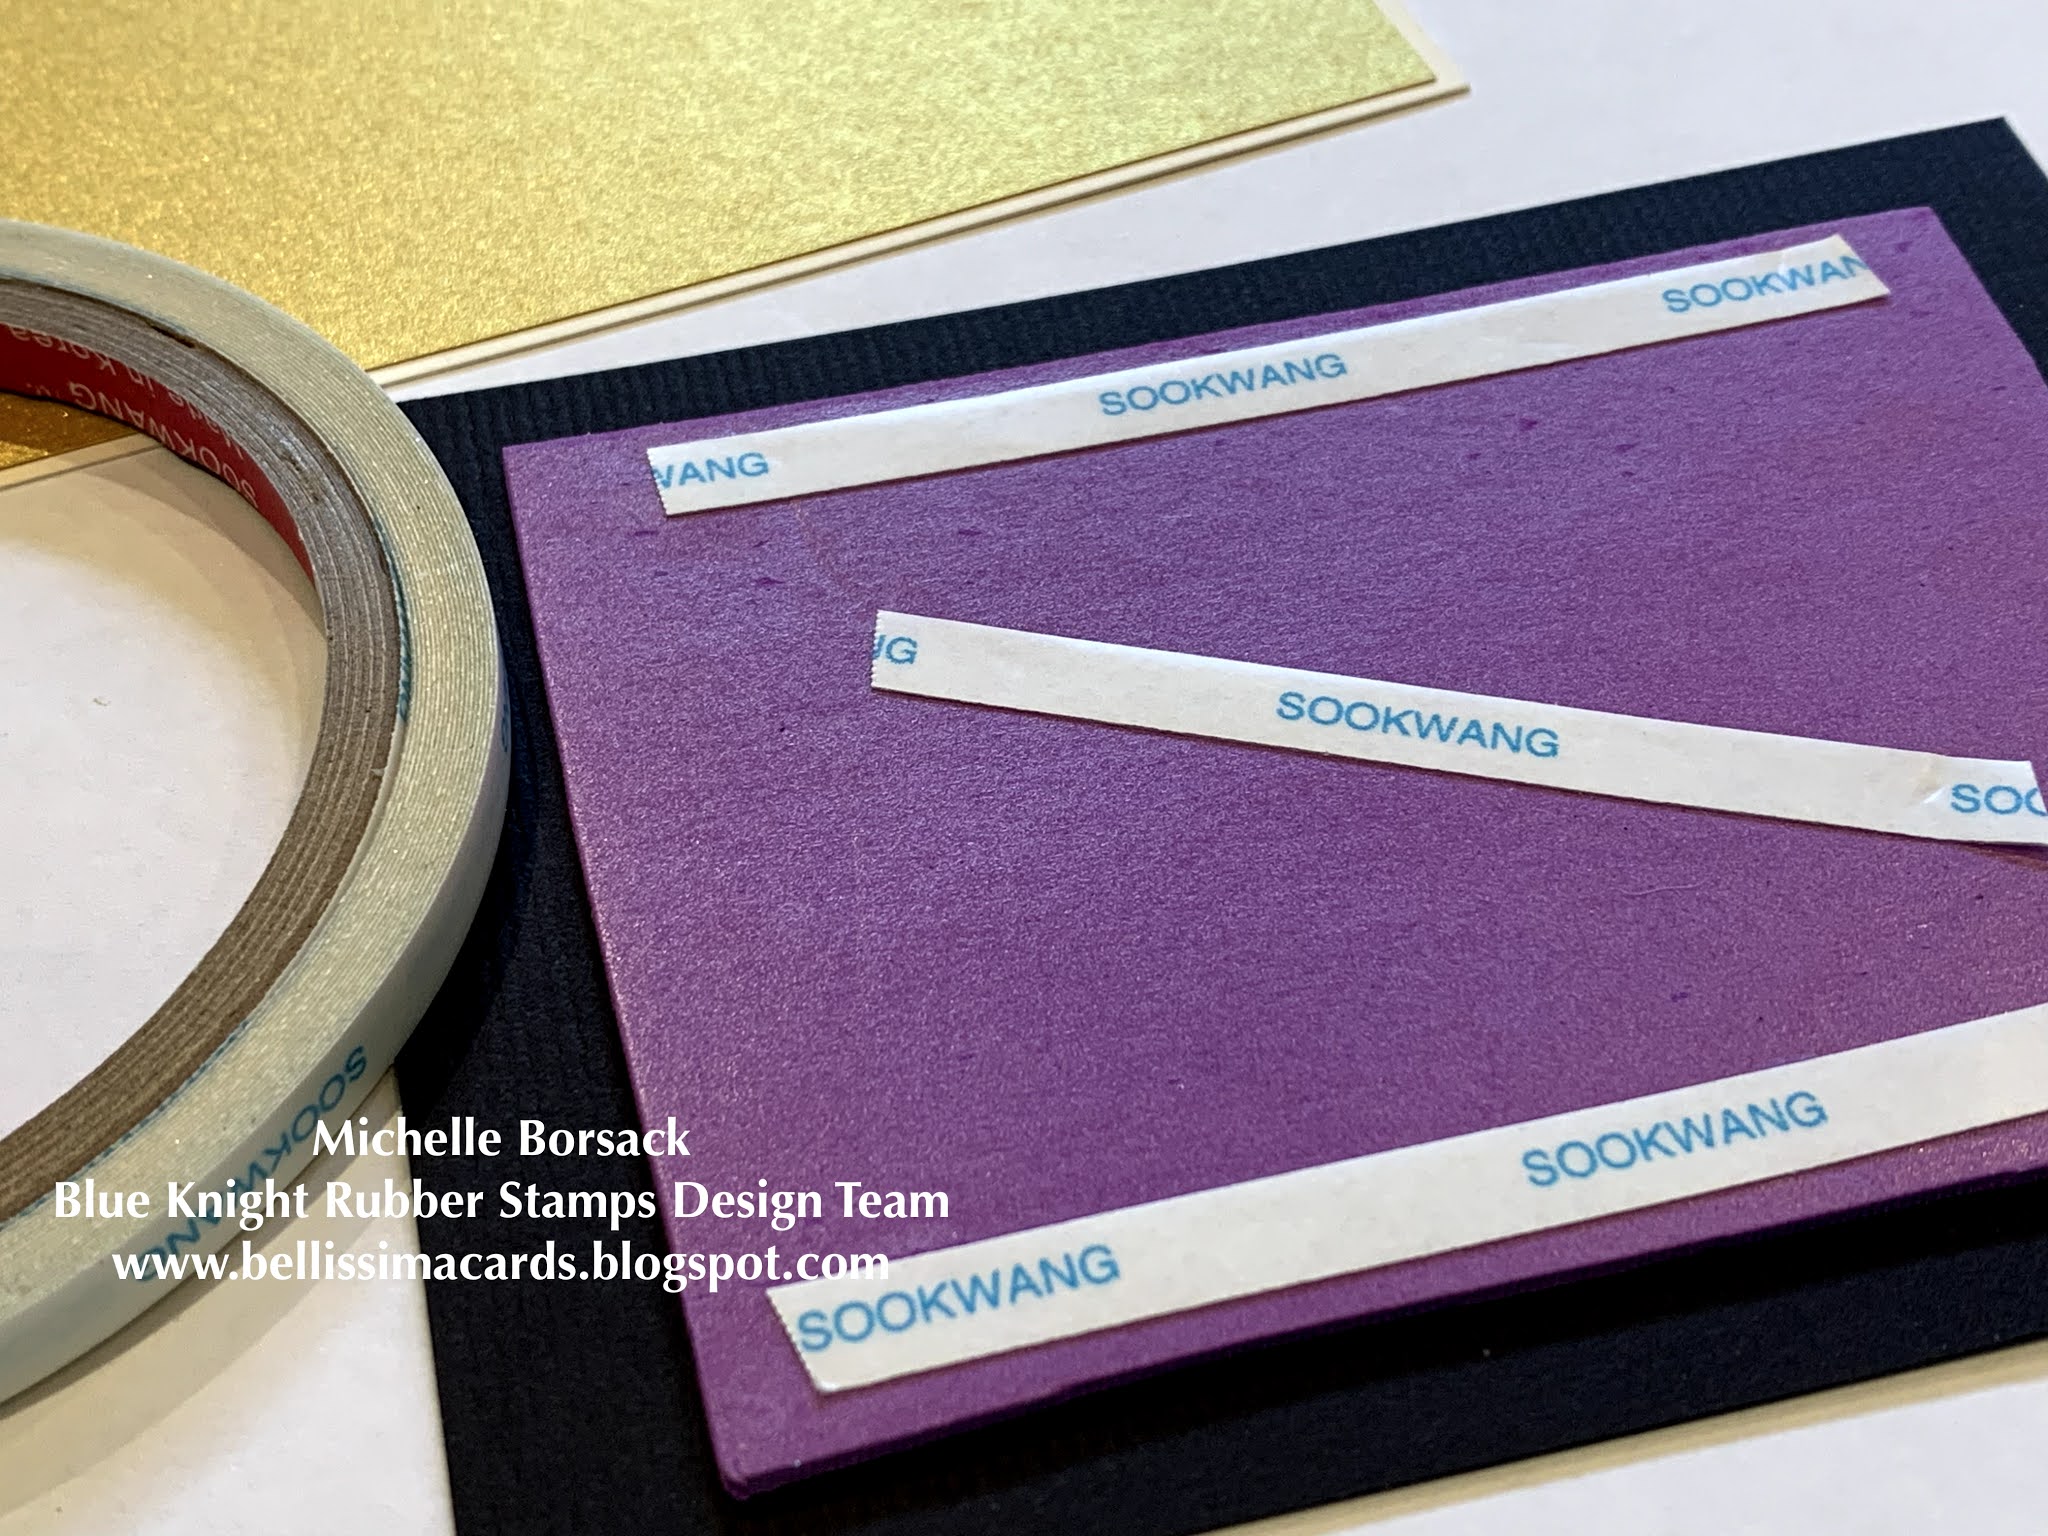
I gave the piece some time to air dry while I cut and scored the base card...and black and metallic gold matting layers
When the image piece was dry, I returned the pice to the stamp positioning tool to restamp the silhouette again...to "crisp it up".
The key with silhouette stamping is to have a dense solid black image that is spot-free.


(Scor-Tape...Sookwang...Red-liner...all work well for this)

By choice, I didn't add a sentiment...because I wanted this wonderful image to be the focal element of this card.

I paired it with another September New release stamp....SILHOUETTE CATTAILS
I used 2 stamp positioning tools for this card...one fo the girl with the dog...and one for the Cattail image
I stamped each image...then used colors from the Blue Knight Select Sunrise/Sunset PanPastel Palette to create the sunset background.
After the sky was complete...I returned the image piece to each of the positioning tools to re-stamp the images a few times to get a solid black silhouette image
Next...I sealed the image with a light misting of NEXXUS Comb Thru Hairspray.
If you follow my blog...you already know about the Hairspray thing...
If you're new to my blog..I'll explain a bit:
Using hairspray was recommended to me by our local art shop.

and...the mat layers coordinate nicely with the image and pull it all together for the look that I was going for.


I'm happy to share today's cards with you...
They're a great kick-off to my September New Release card making adventure!
You can find today's featured stamp HERE, at the Blue Knight Rubber Stamps web store
Some other helpful links:
Subscribe to my blog, if you' like...on the upper right of this blog page.
Visit and subscribe to my YouTube channel HERE
Fans of Blue Knight Rubber Stamps (Facebook group) is HERE
Blue Knight's Inspire and Create Blog is HERE
and the Blue Knight Rubber Stamps YouTube Channel is HERE
Thanks for stopping by today!
Wishing you a creative joy!
Michelle.
No comments:
Post a Comment
Thank you for taking a moment to comment!