Saturday, September 26, 2020

Gone Fishin': Creating Cards with a Blue Knight Rubber Stamps September New Release Stamp

Hello, my Crafty and Creative Friends!

Today, here at my blog, I'm sharing a few of my Blue Knight Rubber Stamps Design Team Weekly Inspiration cards....both created with a September New release stamp that I Love Love Love!

I was so excited to ink up Blue Knight's GONE FISHIN' stamp set for the first time!

My first Gone Fishin' card was created with the larger silhouette image.
I used a stamp positioning tool for the first stamping...leaving the stamp in position in the tool..for ht would be repeated stampings to create a solid silhouette image after adding color to create this nighttime scene.

Using Blue Knight's PanPastel Palettes, I created an evening sky....and water.
I did some simple reverse masking...to create the silhouetted moon.
I gave special attention to shading and blending colors to get the look that I wanted on the sky..water and for the moon shadowing.
(*Sorry bad lighting for this first photo)

When I finished coloring the image piece with Panpastels, I returned it to the positioning tool and restamped the silhouette image a few times to get a nice solid black image.
Then...

I sealed the image with a light misting of NEXXUS Comb Thru Hairspray.

If you follow my blog...you already know about the Hairspray thing...

If you're new to my blog..I'll explain a bit:

Using hairspray was recommended to me by our local art shop.


(*Note...sealing with NEXXUS is not archival safe...If you want your colored piece to be archival safe you'll need to use an art-grade sealant that is archival safe...NEXXUS COMB THRU is the brand that I recommend. Using cheaper heavier hair sprays won't do the job as nicely. I encourage you to invest in NEXXUS Comb Thru (not their other version of hairspray...Comb Thru works best)


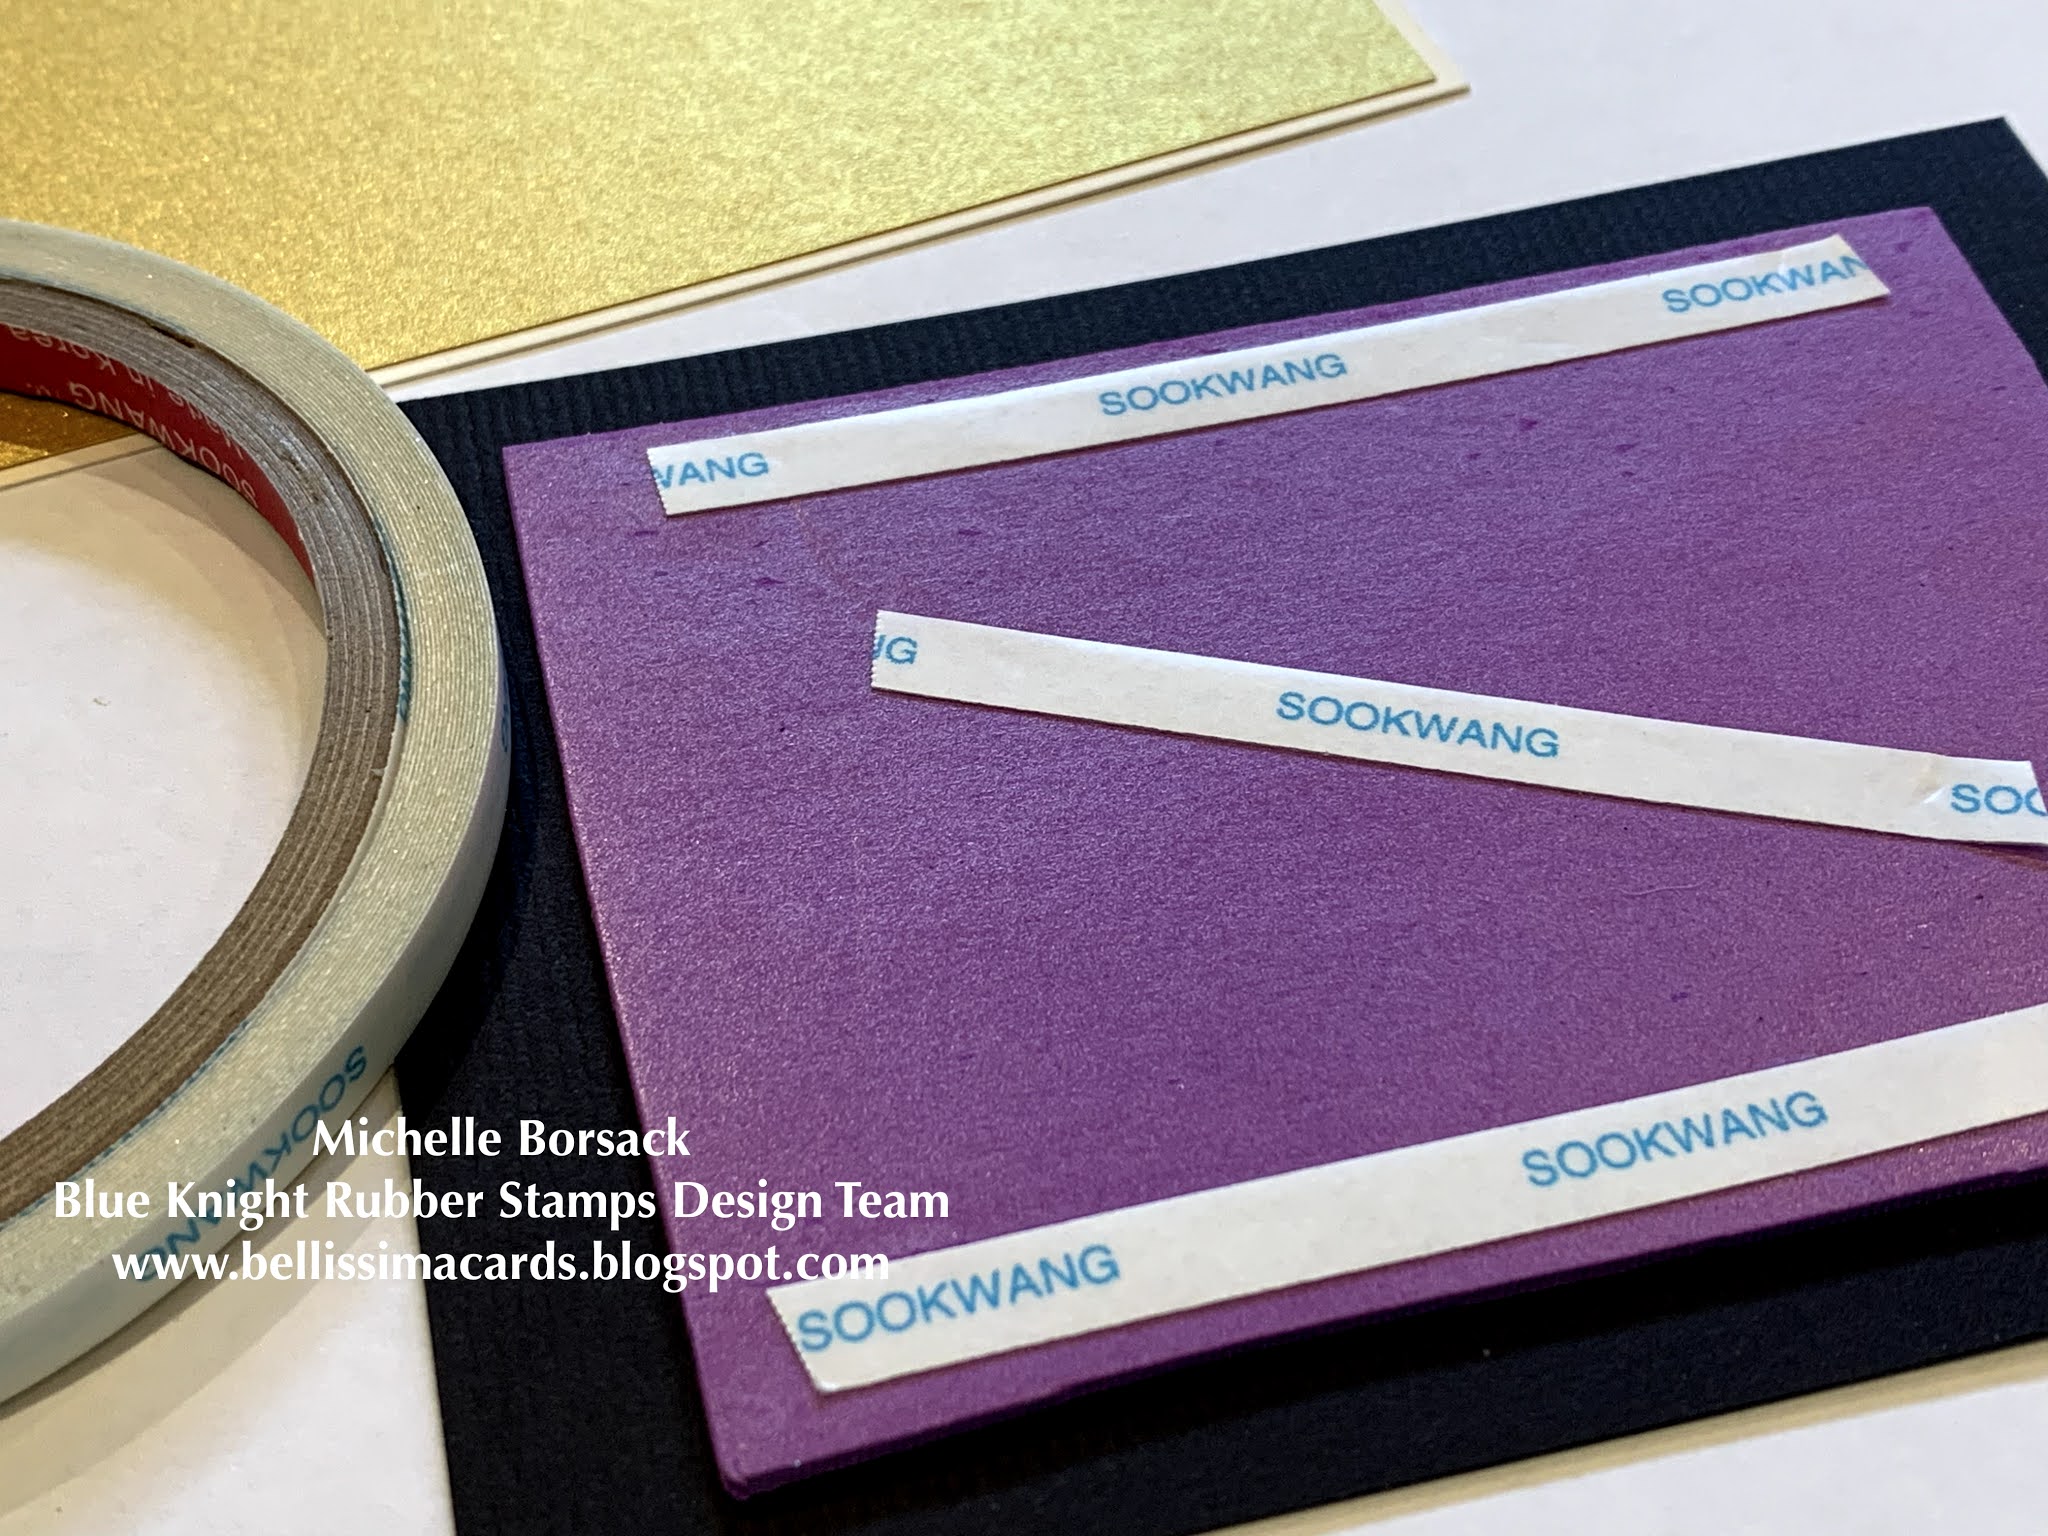
I matted the completed image piece with black card stock...and added a second mat layer using deep blue metallic card stock.


I just LOVE this stamp set!
 

As if I didn't already have enough fun creating the first card...I decided to create a second card using the smaller Gone Fishin' stamp ...and I paired it up with Blue Knight's LIGHTHOUSE on the BEACH and another new release stamp, SILHOUETTE CATTAILS.....
and this is what I whipped up!

I added some brushed -on inking and Blue Knight's Cloud Stencil to create the sky,
I added 2 mat layers...black..and a deep blue.....and found myself LOVING this card!
My intention is to find some time to create a stack of these as a gift for a friend who loves the ocean and shore life.


Combining these 3 stamp sets is perfect I think...and allowed me to create an ocean scene that came together easily.


I couldn't be happier with how this card turned out!

I am predicting that GONE FISHIN' will be a go-to stamp set for me...I know that I will create many more cards with this stamp set...either by making the larger image the focal point of the card...or by creating scenes with the smaller image...There are so many possibilities!  

You can find today's featured stamp HERE, at the Blue Knight Rubber Stamps web store


Some other helpful links:

Subscribe to my blog, if you' like...on the upper right of this blog page.

Visit and subscribe to my YouTube channel HERE

Fans of Blue Knight Rubber Stamps (Facebook group) is HERE

Blue Knight's Inspire and Create Blog is HERE

and the Blue Knight Rubber Stamps YouTube Channel is HERE


Thanks for stopping by today!

Wishing you a creative joy!

Michelle.

Saturday, September 19, 2020

Beautiful Bridge: Creating Cards with a Blue Knight Rubber Stamps September New Release Stamp

Hello my Crafty and Creative Friends!

I'm happy to be here at my blog today to share cards created with another Blue Knight Rubber Stamps September New Release stamp!

Today's featured stamp is BK's BEAUTIFUL BRIDGE.

I chose to create one card with traditional Copic coloring...
and I also created a second card as a blue toned monochromatic card using the double-sided tape "glitter technique"

First...the Copic version.

Info as to how this card was created are very simple:
I stamped the image onto Spectrum Noir White Ultra Smooth card stock with Memento Tuxedo Black ink.

I chose a selection of Copic markers that allowed me to color and blend as I wanted to...focusing on softer tones...of blues..greens...brown...grey and pink.
When the image was colored..I added some clouds to the sky with Blue Knight's Heidi Pettie Cloud Stencil.
I chose pink and green card stock for matting....coordinating the card stock colors with the image colors.


This image has lots of wonderful details...and was lots of fun to color!

The image has some great shading areas built into the stamp that will guide you along as you add and blend color and creating shadowing and shading...


My second Beautiful Bridge card is a monochromatic shimmer card..
I'll share some info below about how I created this card...


I started out by stamping the image onto light blue card stok


Next...I chose the Copic marker colors that I wanted to use.
ll are blue tone...with the exception of a bright pink color that I wanted for the pop of color that this card would have

After the image was colored....I covered it with a piece of Je Je Wide Double Stick Tape (available at the Blue Knight web site)

You can see the double stick tape here, before I peeled off the carrier paper, when I turned the image over

I sprinkled ultra fine translucent glitter over the entire surface of the double tick tape...shaking off the extra glitter.
This is the result.

The coloring shows through the glitter.
(Copics work best for this technique because of the density of color...ecil coloring can sometimes look washed out behind the glitter)

I matted the image iece with bright [ink card stock...to pick up the pop of color in the image...and then matted it a second time with a deep blue card stock.
Creating this card was a fun step away from my usual card making style..
Usually, I am straight up coloring-person...either with Copics..water coloring...or pencils.
I do like creating monochromatic cards now and then....or two-color cards...so this was a nice way to enjoy creating a monochromatic card.
Using the doule tick tape made adding the glitter  cinch...

You can find today's featured stamp HERE, at the Blue Knight Rubber Stamps web store


Some other helpful links:

Subscribe to my blog, if you' like...on the upper right of this blog page.

Visit and subscribe to my YouTube channel HERE

Fans of Blue Knight Rubber Stamps (Facebook group) is HERE

Blue Knight's Inspire and Create Blog is HERE

and the Blue Knight Rubber Stamps YouTube Channel is HERE


Thanks for stopping by today...
Wishing you many happy creative adventures!
Michelle

Saturday, September 12, 2020

Silhouette Cattails: A Blue Knight Rubber Stamps September New Release Stamp Set

Hello, my crafty and creative friends!

I'm excited to share today's cards with you...both created with Blue Knight Rubber Stamps, September New Release stamps.
So...in my excitement about today's cards...I need to share them with you...right now!

With my first card, I'll share the new SILHOUETTE CATTAILS stamp with you...
And the second card will pair up the SILHOUETTE CATTAILS stamp with Blue Knight's SEAGULLS and DRIFTWOOD stamp

So here we go...

As always, when using PanPastels....
I stamped the silhouette image, using a stamp positioning tool...
I added the sunset background, with Blue Knights Select PanPastel Select Sunrise and Sunset Palette...and used some basic masking to create the sun.
When the background was complete..I returned the image piece to the stamp tool and re-stamped the image a few times to get a solid black silhouette image.

Next...I sealed the image with a light misting of NEXXUS Comb Thru Hairspray.
If you follow my blog...you already know about the Hairspray thing...
If you're new to my blog..I'll explain a bit:
Using hairspray was recommended to me by our local art shop.
(*Note...sealing with NEXXUS is not archival safe...If you want your colored piece to be archival safe you'll need to use an art-grade sealant that is archival safe....
NEXXUS COMB THRU is the brand that I recommend. Using cheaper heavier hair sprays won't do the job as nicely. I encourage you to invest in NEXXUS Comb Thru (not their other version of hairspray...Comb Thru works best)

Then, I double matted the image piece...first with gold metallic card stock and then with black matte card stock
I positioned the matted piece on a card base...


At the end of the month.....I'm going to re-create this look...adding another New Release stamp to this beautiful cattail scene...(I can't wait!)


My second SILHOUETTE CATTAILS card has a very different look....
I paired it up with Blue Knight's SEAGULLS and DRIFTWOOD stamp set....
I also used Blue Knight's Heidi Pettie, Cloud Stencil, to create a cloudy sky with a stencil brush and light blue ink.
The sand...dune grass, driftwood, and seagull were all colored with Copic markers...

I double matted the image piece with green and back card stock....

In the end..I was so happy with the pairing of the SILHOUETTE CATTAIL and SEAGULLS and DRIFTWOOD stamp sets...
This is a card that I'd like to it down and create a stack of...
As the saying goes....this card is "right up my alley!"

I hope that you enjoyed today's cards...and are inspired to create some cards of your own with these beautiful stamps!

You can find today's featured stamp(s), the cloud stencil and the BK PanPastel palette HERE, at the Blue Knight Rubber Stamps web store


Some other helpful links:

Subscribe to my blog, if you' like...on the upper right of this blog page.

Visit and subscribe to my YouTube channel HERE

Fans of Blue Knight Rubber Stamps (Facebook group) is HERE

Blue Knight's Inspire and Create Blog is HERE

and the Blue Knight Rubber Stamps YouTube Channel is HERE


Thanks for visiting today...
Wishing you lots of wonderful creative adventures!
Michelle

Saturday, September 5, 2020

GIRLS with PETS: Creating Cards with a Blue Knight Rubber Stamps New Release Stamp Set

Hello, my Crafty and Creative Friends!

I'm super excited about the cards that I'll be sharing in the coming weeks...created with Blue Knight Rubber Stamps September New Release stamps.

BK's September new release is a collection of 14 amazing stamps...some are lined images (great for those who love to color!)...and some are silhouette images (great for beautiful card making for those who shy away from coloring. Within the group of New release stamps...there are possibilities for mixing and matching and pairing multiple sets and images , to create beautiful scenes (for me, a favorite thing to do with my Blue Knight Stamps!


This week, for my BKRS Design Team Weekly Inspiration projects, I'll be sharing a few cards created with the new GIRLS with PETS stamp set.

Thi set has both cat and dog images...in larger and small sizes.
For my first card, I chose the large image of the girl and dog.

I stamped the image, using a stamp positioning tool on heavyweight white card stock.
I re-inked the stamp multiple times to get a nice solid black image.
I left the stamp, in position, in the tool...because I would be coming back to re-stamp the image again.

Next...using a Ken Oliver Stencil Brush, I inked the background with a few Distress Ink colors.
When the colors were as I wanted them, I covered the silhouette image with an impromptu mask.....my
fingers!...while lightly spritzing the card stock with water. (Emphasis on LIGHTLY)...
(*Note: ordinarily, when spritzing a card, I'd have chosen watercolor card stock...however, I knew that I'd be misting the piece VERY lightly, so I knew that heavyweight card stock would work fine...which it did!
I blotted any excess water with a paper towel (there really wants much being that I gave extra attention to go very light with the misting)
I gave the piece some time to air dry while I cut and scored the base card...and black and metallic gold matting layers

When the image piece was dry, I returned the pice to the stamp positioning tool to restamp the silhouette again...to "crisp it up".
The key with silhouette stamping is to have a dense solid black image that is spot-free.


Next, I matted the image piece...and positioned the larger gold metallic mat to the card front

For added dimension, I used a piece of foam on the back of the matted image.

I find that the foam sticks to metallic card stock best, if I use double-sided strong adhesive...
(Scor-Tape...Sookwang...Red-liner...all work well for this)

You can see the nice lift/dimension that happens when the foam is used.

In the end...this card turned out exactly as I had hoped
By choice, I didn't add a sentiment...because I wanted this wonderful image to be the focal element of this card.


For my second GIRLS with PETS card, I chose the smaller version of the image that I used for the first card, above.
I paired it with another September New release stamp....SILHOUETTE CATTAILS

I used 2 stamp positioning tools for this card...one fo the girl with the dog...and one for the Cattail image

I stamped each image...then used colors from the Blue Knight Select Sunrise/Sunset PanPastel Palette to create the sunset background.
After the sky was complete...I returned the image piece to each of the positioning tools to re-stamp the images a few times to get a solid black silhouette image 

Next...I sealed the image with a light misting of NEXXUS Comb Thru Hairspray.

If you follow my blog...you already know about the Hairspray thing...

If you're new to my blog..I'll explain a bit:

Using hairspray was recommended to me by our local art shop.


(*Note...sealing with NEXXUS is not archival safe...If you want your colored piece to be archival safe you'll need to use an art-grade sealant that is archival safe....NEXXUS COMB THRU is the brand that I recommend. Using cheaper heavier hair sprays won't do the job as nicely. I encourage you to invest in NEXXUS Comb Thru (not their other version of hairspray...Comb Thru works best)

I matted the image with matte black card stock...and chose orange metallic card stock for the larger mat layer.


PanPastels make creating blended backgrounds like this cinch...
and...the mat layers coordinate nicely with the image and pull it all together for the look that I was going for.

Oh yes...I forgot to say....I used foam to add dimension to this card as well...

I'm glad that I chose the SILHOUETTE CATTAILS stamp for this card....both stamps go well together, I think.

I'm happy to share today's cards with you...
They're a great kick-off to my September New Release card making adventure!

You can find today's featured stamp HERE, at the Blue Knight Rubber Stamps web store

Some other helpful links:
Subscribe to my blog, if you' like...on the upper right of this blog page.
Visit and subscribe to my YouTube channel HERE
Fans of Blue Knight Rubber Stamps (Facebook group) is HERE
Blue Knight's Inspire and Create Blog is HERE
and the Blue Knight Rubber Stamps YouTube Channel is HERE

Thanks for stopping by today!
Wishing you a creative joy!
Michelle.