Tuesday, October 31, 2017

One More Catherine Scanlon Treasure and a Fast Giveaway!

I was having such a good time creating cards 
with Catherine Scanlon's new release stamp sets a few weeks ago...
I (thought) that I was really organized...
Creating cards...taking photos...
Sharing cards every day at my blog.
The week passed so quickly.
I was happy with how the week went...and how excited so many people were about the stamps...
and especially for having discovered Catherine Scanlon Designs Stamps via my blog!

And then it happened.
I realized that I forgot to create a cards & share one stamp set with you.

So I am back today to share a card created with the forgotten stamp set!

and...
I've got a GIVEAWAY as well!
A fast..."Post a comment today...and a winner will be announced tomorrow" kind of giveaway.
**So don't forget to post a comment below..and check back tomorrow to see who the winner will be!

I'll also share a link to the July Catherine Scanlon Week re-cap blog post
in response to some inquiries I've received about that.
If you've become a lover of Catherine's designs...
You won't want to miss taking a peek at the July re-cap.
Please note: I won't be offended when you come back and tell me that I am a huge enabler!
I hear it all of the time.


But first...I'd like to share the card

The forgotten stamp set is called HELLO.
This fab stamp set comes with a large floral image with lots of fantastic detail
and an assortment of 3 sentiments.


I chose to stamp the image with Rich Cocoa Memento Ink.
I colored the image with a combination of Copic Markers
with an overlay of Polychromos pencil blending on the flowers and larger leaves.
The pencil shading was blended with a colorless blender pen/marker
I brushed background color on with Clarity Stencil Brushes
and ink lifted from ink pads.
The image is matted with deep purple metallic card stock (LCI).
The larger mat layer is a print that looks like shades of purple water coloring
I stamped the sentiment then hand cut and matted the sentiment.
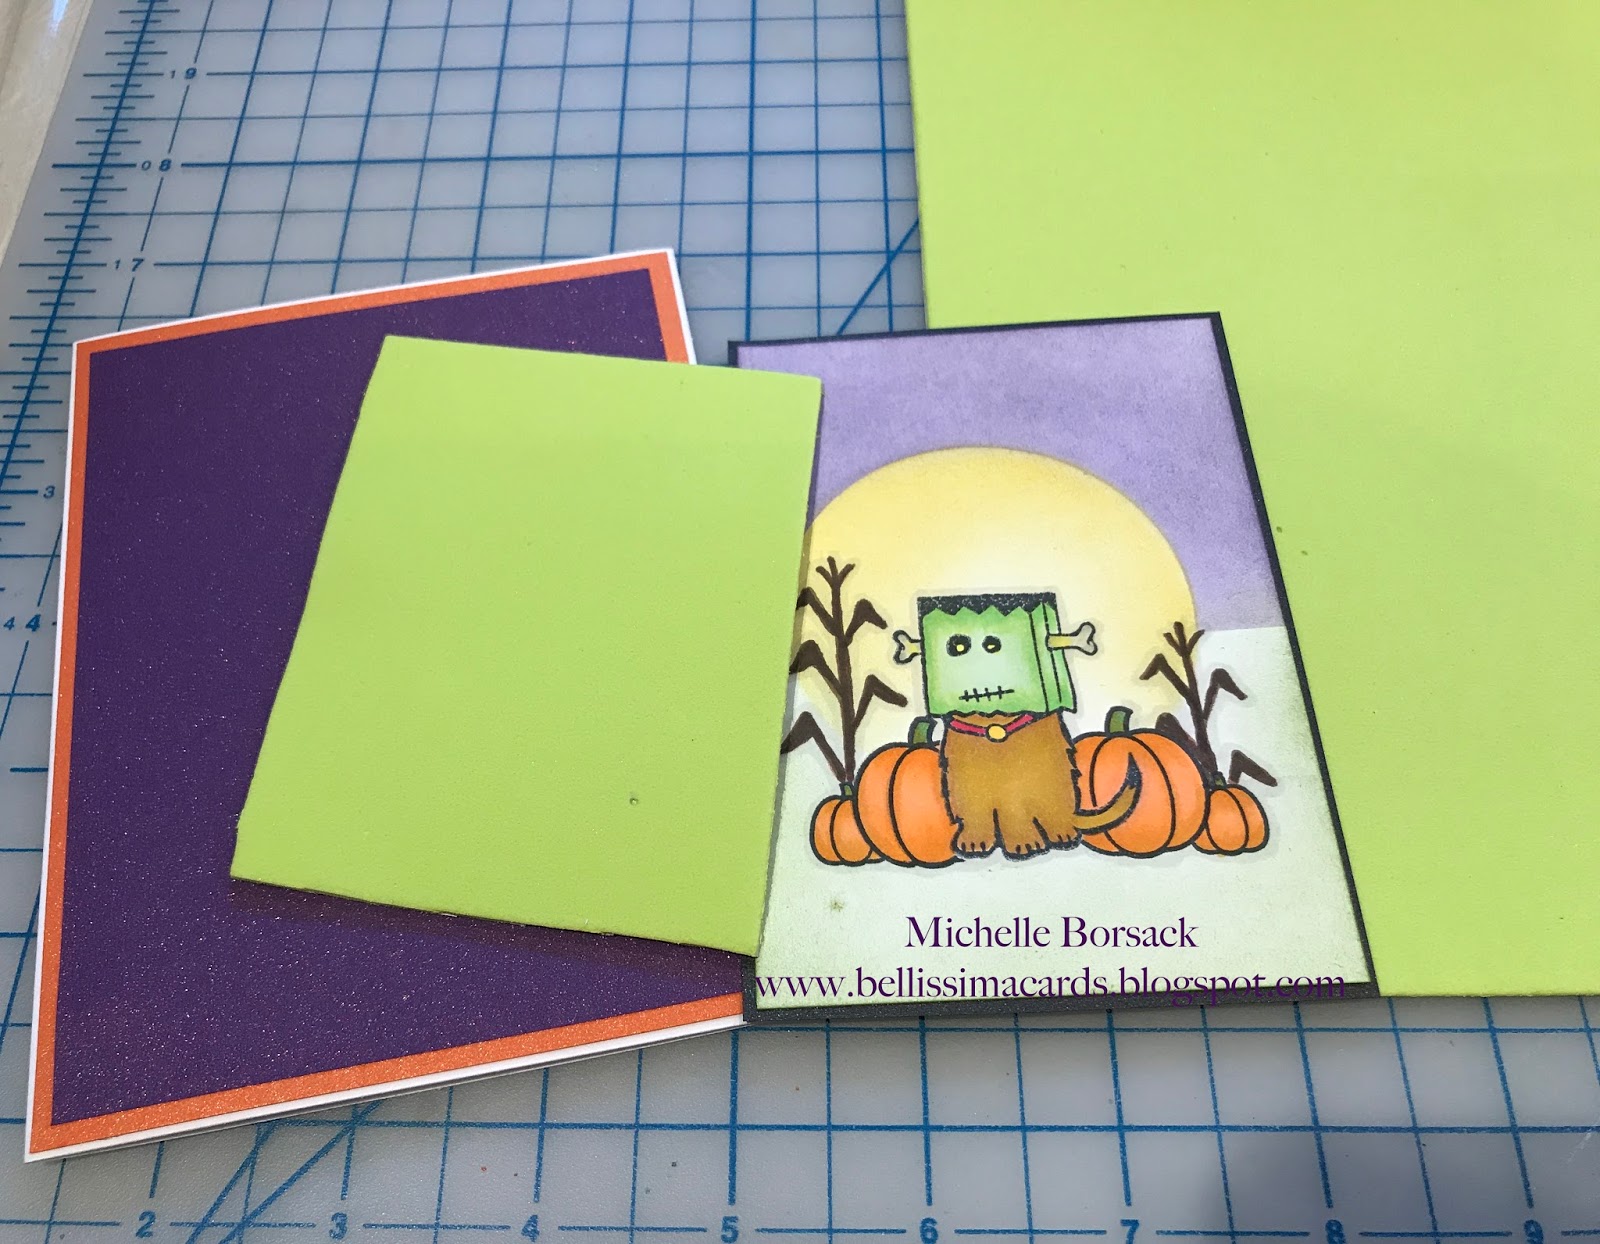
The image layer and the sentiment were positioned with fun foam
for added dimension and a sturdy lift.


Here's a close up...
Look at all of those fantastic details!
(A dream for card makers like me...who love to color and shade and blend)

Isn't HELLO  beautiful?
If you'd like to see more of Catherine's beautiful stamps at work..
These are just a few of many cards shared in the July re-cap blog post

Don't forget to leave a comment below
to be in on tonight's giveaway!
(I'll toss the names of those who comment into a hat...
and will pick a winner...he old fashioned way...
I'll post the winner's name... here at my blog tomorrow)

Thank for visiting today, my crafty and creative friends!
Have a terrific Tuesday!
Michelle.

Monday, October 30, 2017

The Last of the Leaves

I can't make any promises
because I really do love creating Autumn themed cards...
BUT...
I'm thinking that the card that I am sharing today
may be the last of the Autumn leaf cards.


Today's leafy and Autumn-y card is about as CAS as it gets!

I used one stamp from CTMH's Autumn Splendor stamp set to create the leafy panel.
This card included using dye ink and Distress Oxide Ink(s).
I chose bronze LCI Metallic card stock for matting
and...a great quote stamp by IO (Impression Obsession)
I brushed ink onto the the sentiment piece with Clarity Stencil Brushes.
I used multiple inking layers and stamping 
to create the stamped shadowy dimensional look of this card.


So there you have it...
what is probably my last Autumn-y looking card
(with the exception...of course...of what I may whip us for Thanksgiving!)

I hope that you've enjoyed these last few days of the Autumn cards 
that I've created and shared...
and that maybe...you've also found a little bit of inspiration here at my blog!

Have a wonderful day, my crafty and creative friends
and thanks for visiting!
Michelle

Sunday, October 29, 2017

Separation Anxiety....My Inability to Part with Some of my Cards

I have been in my happy place...
making cards!
and as if that's not awesome enough...
I've been making Autumn cards.
and..
If that doesn't put me over the top with card-making-glee...
I have  been water coloring.
All of this together?
For me? 
WOWZER.
That's all I can say...
WOWZER.

I got out some water color paper...
Ken Oliver Colorbursts...Distress Oxide Inks...and Luminarte Twinkling H2Os...
Some Sparkle n Sprinkle Gold embossing powder..
Some Brutus Monroe Penny embossing powder...my heat gun...some daubers...
some LCI metallic card stock...
a few IO (Impression Obsession) quote stamps...
Stampendous' Jumbo Leaves stamp set...
and...
 I had some fun!
LOTS of fun!

and..
here's what I whipped up!
These...
*Backgrounds created with Distress Oxide ink..misted with water
*Stamped leaf images...heat embossed
*Leaf images painted with Twinkling H2Os


and one other piece....
stamped...and "painted"...
no heat embossing
just stamped with ink.
(I forgot to take a photo)

I took 3 of the four panels...and created cards with them.
One...remains as shown above...
I haven't used it to create a card
because I am having separation anxiety...
It's sitting next to the studio work table..
where I can look at it whenever I want to..
touch it.. and hold it...
and think about keeping it....
just as it is.

But...I DID create 3 cards...
and I can share them with you now.

The colors and the shimmer and the embossing
the metallic card stock matting
and the Oxide ink background all  make me so happy.
THIS is my kinda card...

Here's a close up..
Look at the gold embossing..
and the shimmer from the Twinkling H20s!
This is what I call gorgeousness!


This card makes me feel the same way...
Happy Happy Happy!
I'm loving the muted look of the  background son each of today's cards 
(created with Distress Oxide ink) 


and a close up


This version is just inked...no heat embossing.
(I like this...but...I'm partial to the heat embossed pieces)

I am so happy with the finished cards
however...
I have a dilemma

Separation anxiety
I can't bring myself to create a card with this one...
because I love it so much

I told my daughter that I was going to put it in a little frame...
and keep it...forever.
It's the only one that was heat embossed with Brutus Monroe's PENNY Embossing powder...
and I LOVE the leaves..and how they turned out with the H2O) colors that I blended.
I also love that the leaves look like they are floating on the background
I need to keep this.
Just as it is.

I'm really enjoying creating Autumn cards...and sharing the with you here.
I'll be back again tomorrow with a few more Fall cards...
See you then!

Thanks for stopping by..
Have a great day, my crafty and creative friends!
Michelle.


Saturday, October 28, 2017

Autumn Leaves...

I'm still in Autumn-mode...
having a great time creating cards with some inking...and some stamping..
and a Fall look

I've got 4 cards to share with you today...
2 of each card...
All created with dye ink...Distress Oxide Ink and Luminarte Twinkling H2Os.
I also used wood grain card stock as a base layer mat
and vellum for matting the inked leaf and sentiment pieces.
The four sentiment pieces were brushed with ink...with Clarity Stencil Brushes.
The leaf stamp set is a retired CTMH stamp set called Autumn Splendor

I also decided to stamp with the twinkling H2O's directly onto the wood grain card stock.
I wasn't sure if it would turn out okay..
but thought...Why Not?
if it's awful..it's not a big deal..
I'll just toss it into the trash and do something different.
BUT..I got a great surprise!
The H2O stamping on the wood grain card stock 
looked like a foiled shimmery tapestry!
I loved the look...and used it on each of today's 4 cards.

So...here are the 4 cards...
2 birthday
and 2 with a quote.
(I'll share individual close ups  below)

First up...The Happy Birthday cards
(I am sharing both ONLY because I want you to see the color variations in background
of the leaf pieces...
all created with the Distress Oxide Ink(s))
I love the glow of red on this card.
You can also see the stamping on the wood grain in this photo...
The shimmer of the H2Os on the dark brown wood grain card stock is fabulous...
The leaves were stamped with dye ink....
right over the Oxide ink background piece...after it had air dried....
 I held this card in my hand....and tipped it into the light for this photo..
trying to capture the shimmery shine of the H2O stamping
and a close up of the tapestry look of the stamping
You can also see the vellum matting nicely in this photo.

This is the second birthday card...
The leaf piece has less of the red undertone...


The next 2 cards...have a really nice Bob Hope quote...
the same inking...stamping..and vellum matting.
Again..the card are identical
with the exception of the inking differences on the leaf pieces.
I also added splatters some H2o's on the card stock for some extra shimmer

and...
the 4th and final card...
same design...same quote...
same stamping...
but I wanted to share the photo to show you the differences in the inking.


It's been great creating Autumn cards.
I am very much an Autumn girl...
I love everything about Fall...
The changing leaves...the weather...nature's color palette...
I've enjoyed creating cards that reflect my love of Autumn.

Thanks for visiting today...
Don;t forget to check in tomorrow to see the next Autumn cards that I will be sharing!
Have a great Saturday!
Michelle.

Friday, October 27, 2017

Inking...Stamping...and Shimmering Autumn Cards

I have been having the best time in my studio these last few days!
I've been creating with dye ink...Distress Oxide ink...and Twinkling H2Os.
I had no plan...other than just enjoying experimenting...
with a goal of creating a few Autumn-looking cards.

Over the next few days...I'll share a a small assortment of cards with you...
each created with an Autumn look...
with an assortment of inks...and H2Os

I used a retired CTMH stamp set...
(Autumm Splendor)
an oldie stamp set that is one of my favorite leaf stamp sets.
Matting was done with LCI Metallic card stock
I felt like a mad scientist in my studio
creating and experimenting..layering..mixing..and blending
and then sitting back to see what the final results were.

Today I'd like to share, with you...how I created this card
(I actually made two of this card)
Many people have told me that they aren't familiar with Luminarte Twinkling H2Os 
so I thought I;d give you a little bit of info about stamping with H2Os
(By the Way...Luminarte is now called Colourate...
and soon...colors will be sold in pans..not pots.)

This is the first Autumn inspired piece that I created.
I painted H2O's...in assorted Fall colors ...onto the stamps...
with a small water color paint brush.
I stamped each leaf onto Spectrum Noir Ultra Smooth card stock..
holding the stamp down on the card stock for a moment...
to let the H2Os transfer nicely from stamp to card stock.
I made certain not to press too hard on the stamp....
NOTE:*Pressing too hard when stamping with the H2Os can distort the stamped image..
and can cause the image to look like a random blob of color...
as opposed to a beautiful stamped image.
The shimmery mica shine of Twinkling H2Os is amazing!
I tipped the card stock into the light ...trying to capture the shimmer for you, in this photo.
After the stamped images had dried (they dried very quickly)
I brushed background color onto the stamped card stock
with Clarity Stencil Brushes and ink lifted from ink pads.
I created 2 of these stamped panels.


I stamped this beautiful IO (Impression Obsession) sentiment...
stamped it with Rich Cocoa Ink (Memento)
I brushed ink onto the sentiment piece.
Next...I matted the sentiment and stamped piece with bronze metallic card stock
I chose a bronze metallic card stock for matting
and...
Wha-la!
A shimmery Autumn card!

Here's a close up
*Gotta love Ralph (Waldo Emerson)
He always knows just what to say...and how to say it!


I am very happy with this card.
It turned out exactly as I had imagined it...in my mind.
I LOVED stamping with the H2Os...something I haven't done in a while.
Me + H2Os = a Wonderful Reunion!
We've ben apart for too long!
and now...
We're back together!

This card kicked off my start of creating some Autumn cards...
I'll have a few more cards to share with you over the next few days..
So...
Don't forget to stop by tomorrow
Thanks for visiting...
Have a fabulous Friday!
Michelle

Thursday, October 26, 2017

Mini Halloween Apothecary Goodie Jars

I'm still working on a few small Halloween projects.
As I mentioned the other day...
None of the projects are huge extravaganzas...
They're just simple little projects...
Each one being perfect for an evening of creativity in  the studio.
It's ince to have a project finished at the close of an evening..
and being able to start fresh...with a new project...the following day.

So...
Today, I'm sharing a quickie Halloween project
2 Mini Halloween Apothecary Goodie Jars.

For this project I created two bows with my latest new toy...
The DecoFun Bow Maker.
(For mote info about the DecoFun Bow Maker...go HERE
I've been so thrilled with FINALLY being able to make prefect bows
since trying the DecoFun Bow Maker for the first time.... a few days ago.
Now...I can't stop making bows...(haha)
I had a little more of the Halloween ribbon that I used for the book marks
so I used that ribbon for today's bows.

Before the bow making, though...
I stamped and colored a pumpkin and a ghost image with Copic markers.
I cut them out...and positioned them off to the side of a punched mini tag
and
I added a length of heavy embroidery thread to each finished tag
so that I'd be able to tie the tags to their jars.


Here's a first look at the mini jars...with their bows!
Yes!!....I made those bows!...
Me!...A previously bow-challenged person!
After I finished being in awe with my bow making...
I filled the jars with Tootsie Rolls (orange jar)
and Halloween Hershey Kisses (purple jar)


Here's a close up..
(because I have to show you my perfect little bow!)
YAY me!
You can also see the tag nicely in this photo.


and...
the purple jar....with the little ghost tag

and...
Here's what the back of each tag looks like...
(White...so I can write To & From on each tag)

This was a fun little project to work on...
I like to have a few special little Halloween goodie items ready and waiting
on Halloween Day...because there is always an extra special trick or treater that we see ..
or who stops by at our home
and who we enjoy giving something special to. 

(I actually may take the candy out of one of these jars.
and re-fill it with mini dog treats for a friends dog.)
Or..maybe I'll just make another jar...
and leave these two as they are!

My week of little Halloween projects has been a productive... fun...
and creatively relaxing week
and Ive enjoyed sharing these quickie projects with you here at my blog.
and....
I finally conquered my lifelong "bow issues"

Thanks for stopping by today...
Have a fabulous day!
Michelle

Wednesday, October 25, 2017

Quick and Simple...Something Different for Our Trick or Treaters

I am still working on a few Halloween projects...
just a few more....and then I'll be finished.

Every year...I add something "non-candy" to the big bowl of Halloween candy & goodies 
that we offer our trick or treaters when they ring our doorbell.
Over the years we have added things like...
key rings...beaded jewelry...mini story books...mini Slinkies...plastic eyeballs..
lizards..snakes...sticker books and mood rings.
The candy is always popular...
but the kids REALLY love that we invited them to take some candy...PLUS a non candy item.
Somehow...we always have candy left over...
but the gadgets and toys etc always go first.

This year...
I am adding some Halloween book marks to what we are offering our trick or treaters.
Our town schools have lots of reading programs that are very popular
so I thought that book marks might be fun, for  change!

I'm sharing the 3 prototypes with you today...
I kept them simple...and easy to create...
because I will be creating quite a few.

I used my old favorite CTMH Halloween stamp set...Frightfully Fun
and some great Halloween Ribbon from The Ribbon Place/DecoFun
The stamped images are colored with Copic markers.
and the book marks are matted with purple..green and orange
LCI Metallic card stock.
I used a Stampin Up punch for the top of the book marks.
To make sure that the image piece was firmly attached to the metallic card stock...
I used Scor-Tape.
(Scor-Tape is great...and the only thing that I use.. when using metallic card stock)

I'll share some step by step photos here...
so you can see how I created the book marks...
and just how easy they are to make!

Each matted and completed book mark measures 2 x 7 1/2 inches.
I cut the white Spectrum Noir Ultra Smooth card stock into
1 7/8 x 8 inch strips.
The metallic card stock (for matting ) was cut to 2 x 8 inches
and stamped the images and sentiments on each strip.
I used Copic markers to color the images.
Then..I applied Scor-tape to the back of each image strip.

The book mark on the right (the bats) is matted...and ready to be inserted into the punch
*The punch opening is 2 inches wide...which is why I use the measurements noted above 
for the white card stock and the metallic card stock


Now it's time to punch through both layers of the book mark.
(You'll need a little bit of muscle power for this because the metallic card stock is very heavy)


Done!
The decorative edge and hole are punched at the same  time.


Next..
I cut a 12 inch length of ribbon.
Folded it in half...
and pushed the looped end through the hole..
Going from the back to the front of the book mark


I pulled the two cut ends of the ribbon through the looped end...
and tugged the ribbon to tighten up the "knot"
I trimmed the ends of the ribbon diagonally

(the "knot" looks like the knot at the top of a man's necktie, I think )


 I did this to each of the 3 prototype book marks.
Here they are dressed with DecoFun's Halloween ribbon.
and ready to find anew home with some neighborhood  trick or treaters!
*I get my DecoFun ribbon HERE at The Ribbon Place


We don't get as many trick or treaters as we did years ago...
when hundreds of little adorable costumed little ones would climb our porch steps 
and excitedly ring our doorbell.
Each year it seems that less and less children are out trick or treating
in our neighborhood...
So..I'll probably make a few dozen of these book marks to add to our goodie bowl.

Thanks for visiting today my crafty an creative friends!
Have a wonderful Wednesday! 

Tuesday, October 24, 2017

A Halloween Gift Bag: Some Card Making...Some Stamping...Some Coloring and Some Bow Making

Hello my crafty and creative friends!
This week, I'm working on some last minute Halloween projects.
Nothing extravagant...
but all...fun!

I wanted to create a Halloween gift bag for a very special 2 year old that we love pieces!
I opted to make this the #1 project..because as soon as it was done...and filled with goodies...
It needed to be shipped to our favorite little trick or treater!


Here's a description of how I created the bag...and card...and tissue paper...and bow!

I started with a plain white gift bag.
Stamped on the front of the bag ...and colored the stamped images with Copic markers.
The stamp set is a CTMH stamp set that I have had...forever
called Frightfully Fun
After the images were colored...I added some Nuvo Jewel Drops.
I didn't stamp images in the center of the bag.....
because I knew that it would be partially covered. 


Next....I used the same stamp set 
to add a coordinating pattern to some white tissue paper.
I placed the 3 little stamps on one block randomly
and stamped all over the tissue paper..turning the stamps/block
to avoid uniform positioning of the stamped images.


Then..I used the ghost stamp to fill in the white spots on the tissue paper that needed an image
I set the gift bag aside ..allowing the Nuvo Drops to dry...
and I also set the tissue paper aside..


Next...I created the vellum pocket for the front of the gift bag.
I cut a piece of vellum that was as wide as the bag...and a few inches high...
approx 8 x 5
I used dark slate grey card stock to frame the velum.
I did this by cutting 1 inch strips of card stock...
and scoring each strip at the half inch mark.
I placed Scor -Tape adhesive on both sides of the crease
of all 4 strips of scored card stock
I placed the vellum into the creased folded card stock
and pressed down to adhere the Scor-Tape to frame the vellum as shown.


I placed Scor-Tape on one side of the frames vellum...
on the  2 short sides and one of the long sides.
I left one side without Scor-Tape...so that it would be the top opening of the pocket.


I set the vellum pocket aside...
along with one little pumpkin that I stamped...colored...and cut out.


Next..it was time to create the card...
I chose a Frankendog image from Inkadinkado's Ghouls & Goblins stamp set.
(I have had this stamp set for many years)
*I gave this little dog the name "Frankendog"...it's not Inkadinkado's name for this stamp
I stamped the Frankendog image...
and used masking to  add the pumpkins and corn stalk images to create a scene around the dog image.
(I masked the dog to add the pumpkins...
and I masked the pumpkins to add the corn stalks)
*The pumpkins and corn stalks are from
Lawn Fawn's Happy Harvest stamp set
I  created the large harvest moon glow behind the dog by punching a circle in a piece of card stock 
to create an inking template.
I inked the moon glow and background colors with ink...and Clarity stencil brushes.
I chose three LCI metallic card stock colors for matting.
Then, I stamped and matted the sentiment
and started putting the card together.


First I did all of the matting...
The large green piece in the photo is self adhesive fun foam
which I used behind the image layer to add lift and dimension.

I cut the fun foam to the size that I needed for the image layer.

I put a few strips of Scor-Tape on the back of the matted image layer
I put the sticky side of the fun foam face down...onto the Scor-Tape


Then.I added Scor-Tape to the face-up side of the fun foam.
and...
Because I always go overboard with adhesive...(haha)
I added some ATG adhesive here and there to fill in the areas between the Scor-tape

I flipped the matted image layer over..
fun foam & adhesive  side down...
and positioned it on the matted card front.
Then I got out foam dimensionals...
to add to the back of the hand cut & matted sentiment banner.


I placed the sentiment banner onto the card
and
applied some Nuvo Jewel Drops to the card.


Here's a close up that shows all of the matting and 
the great dimension created with the fun foam and dimensionals...
as well as the Nuvo Drops.


Here's the finished card
(I LOVE this  adorable Frankendog!)


Next...
I positioned the vellum pocket on the front of the gift bag
and added the little pumpkin to the bottom corner of the pocket.
I got out all of the goodies for the bag...

When the Nuvo Drops were dry..
I placed the card into the transparent pocket
and placed the stamped tissue paper and goodies inside of the bag

Next...I got out my DecoFun Bow Maker
to create a triple loop bow with orange dotted grosgrain ribbon
You can see the Bow Maker and Ribbon HERE

After my success with making a double loop bow with the DecoFun Bow Maker
I got daring...(and confident with my new found ability to create a bow!!)
so..I thought that I'd try making a triple loop bow for this Halloween gift bag.
I cannot believe that two days ago I could not make a simple single loop bow...
and now...Thanks to the DecoFun Bow Maker...I am making triple loop bows!
I've tried so many bow making tools over the years...
None have made a bow maker out of me..
because
None were as easy as the DecoFun...
Looking at this triple loop bow makes me feel so happy.
I DID IT!
Once the bow was made...
I filled the bag...


In the end...I was very happy with the
gift bag...card...tissue paper...and bow...
and how each turned out...
and 
how nicely they all came together.

The possibilities are endless with this project.
Just switch up the stamp set...
and you can create a gift bag for any occasion
any theme,,,,any Holiday...event...or Season!

By the time you read this blog post on Tuesday
this gift bag full of goodies will already be on it's way to our favorite little trick or treater!
It's been lots of fun creating this project...and filling the bag with goodies...
but the real fun and joy is in sending it to the cutie who will receive it!

Thanks for visiting today...
Have a terrific Tuesday!
Michelle.